


Microsoft PowerApps is a canvas based application for creating line of business applications. In other words, you can create an app for your organization by using a drag an drop interface! Personally, I love the capabilities and ease of use of PowerApps. What makes PowerApps even cooler is the fact that you can build apps really, really quickly!
In this first blog post of many on working with PowerApps I want to focus on creating an app that has little to no customizations. This post will focus on a step by step approach to creating your first app. We are going to use an option in PowerApps that will build an app for us, using our data. Yes! Build the app for us! We could customize this and make it our own and there is a lot we can do but I want to get you started so we want to keep this first post simple.
To build our app we need a data source. For this example I am going to use a SharePoint list to keep it simple. If you want to use data stored on-prem this requires slightly more work, not much, but slightly more and so I will come back to this in a future blog post.
Let’s discuss the steps we will take to build our first app:
- Create the data source and populate it with sample data.
- Log into web.powerapps.com and create a connection to our data.
- Create a new app using the option: Create from data.
- SAVE APP!
It’s really that simple! Now let’s take a look at the data source.
Using SharePoint as a data source for PowerApps
In the below image you can see I have created a SharePoint list called Expense_Blog and I have added five columns. I then populated the list with a single row of data so I would have some sample data to preview my app with. I prefer to always start with sample data as I have found this makes building and customizing the app easier.

Creating a Data Connection in PowerApps
Open up your browser and connect to www.powerapps.com. From the left navigation pane, expand data and the click connections.

This will open up a window with all the connections you have already created. To create a connection to SharePoint, click + New Connection.

Select SharePoint from the list of available connections:

Once you select SharePoint you will be prompted to enter your credentials, and this will create the connection to SharePoint. Next, navigate to the home tab, then hover over Start from data and click Make this app.

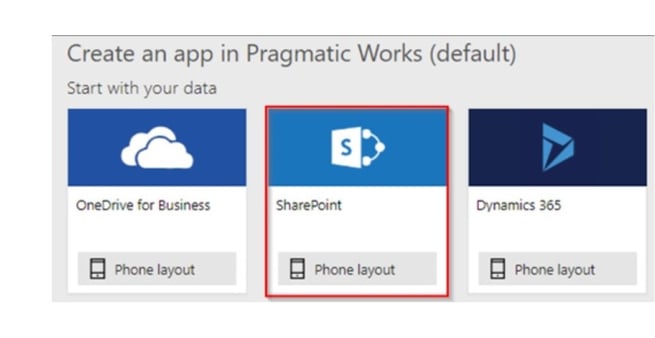
Clicking Make this app will launch create.powerapps.com. Once launched you will be asked to connect to your data. Select SharePoint.

Now you need to connect to the specific SharePoint site where your list has been stored. My list has been stored in my PowerApps99 site.

Select your list from the options available and then click CONNECT. After you click connect your app will be created. You will get a pop up screen, you can just click SKIP for now.

The created app comes with three screens. A display screen, a details screen, and an edit screen. As you can see below the display screen will show all of our current expenses, unfortunately it’s not showing the columns we want to see. I’m going to show you how to use the GUI to customize the display screen to show the correct columns.

To customize the display gallery, take a look at the below animated gif. Essentially I select the gallery, then go into the properties and update the columns.

Now let’s test our our new app by previewing it. Click on the play icon at the top right to preview the app. Take a look at the animated gif below:

The last step is to save the app. Click File –> Save as –> The Cloud –> Blog Expense App –> Save!

Thanks for reading. Looking for more training? Download your free trial of our On-Demand Training platform with over 30 courses in Business Analytics, Business Intelligence, Azure, Power BI and more!


-1.png)
Leave a comment